
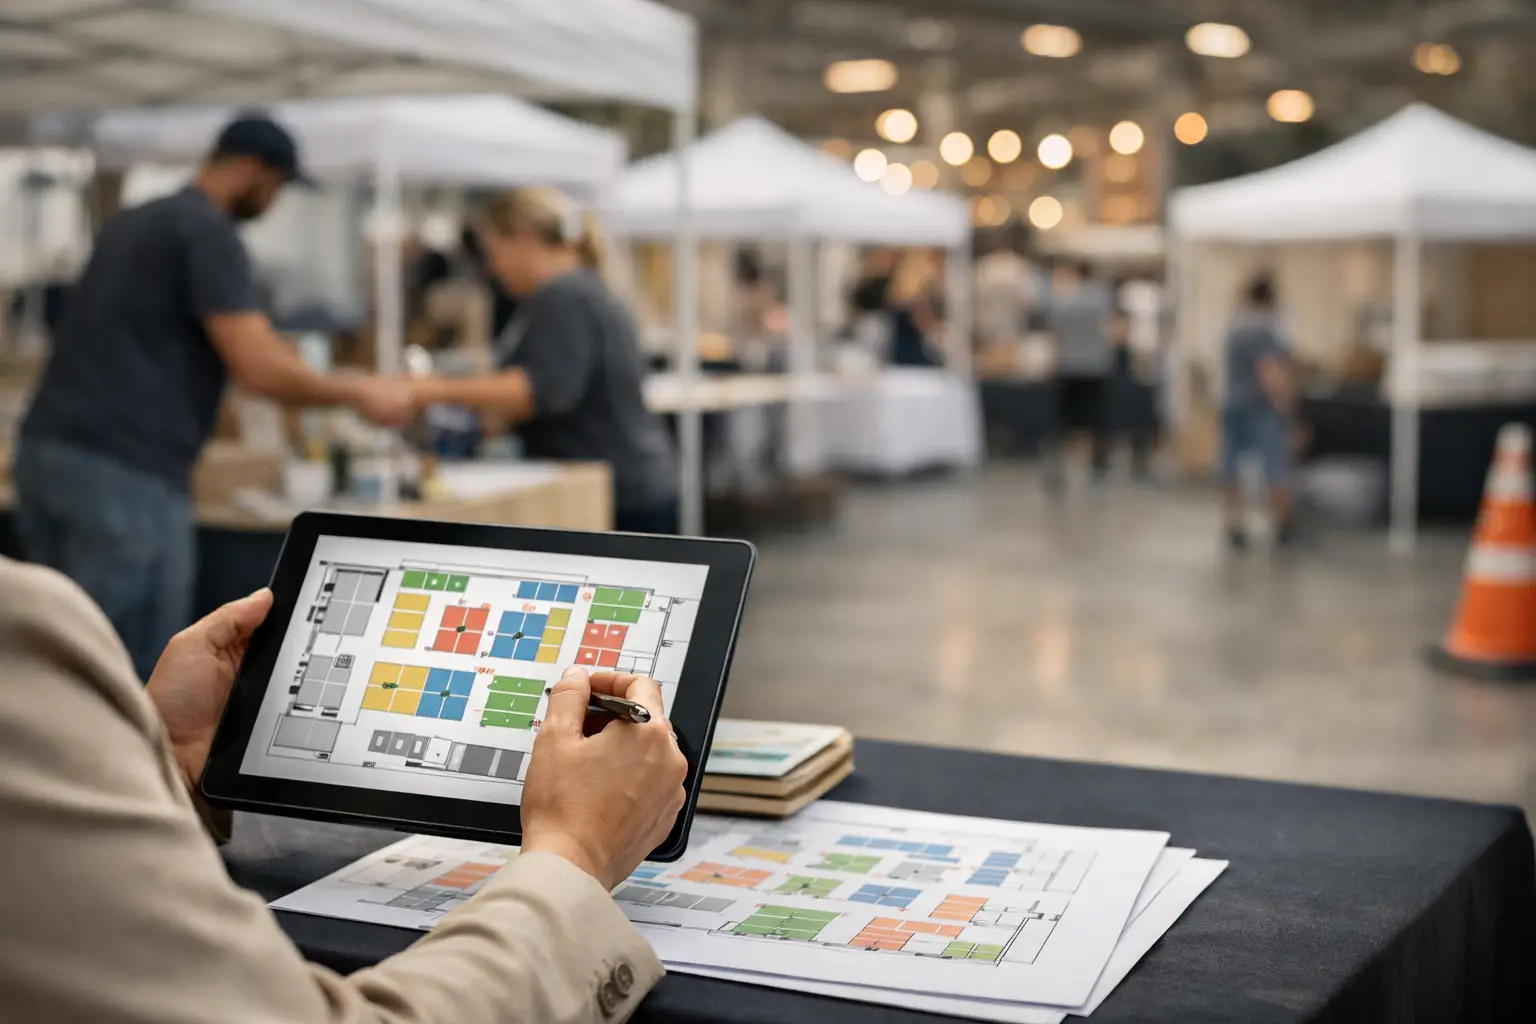
A stallholder arriving at 6.30 am to find their space blocks a fire exit, has no power, or sits behind a coffee van is not starting the day ready to sell. They are starting it frustrated. Learning how to assign stalls at events is not simply an admin task. It is one of the clearest ways an organiser can protect vendor revenue, attendee flow and the reputation of the event.
The best stall plans make a busy market or festival feel easy to move through. They give attendees reasons to explore, let vendors operate safely and ensure your on-site team can solve problems without redrawing the whole site on a clipboard.
Start with the site, not the vendor list
It is tempting to accept applications, choose your favourites and then try to fit everyone into the venue. That approach usually creates awkward corners, overloaded power boards and vendors placed where their setup cannot work. Build the site plan first, using the real usable footprint rather than the total venue size.
Walk the site at the same time of day as the event where possible. Notice sun direction, prevailing wind, slope, drainage, vehicle access, pedestrian entry points and existing infrastructure. A location that looks generous on an empty oval can become a bottleneck once marquees, queues, rubbish bins and prams arrive.
Mark non-negotiable areas before placing a single stall: emergency access, fire exits, accessible paths, first aid, amenities, loading zones, organiser operations, waste collection and public seating. If your event includes food vendors, also identify water access, grease disposal requirements and space for queues. These areas are operational infrastructure, not leftover space.
Set stall sizes and clearance rules early
Standardised stall sizes make planning faster, but they should reflect what vendors actually need. A jewellery seller with one trestle table may suit a compact bay. A food truck, vintage clothing seller or gaming merchant could need a much larger footprint, storage space and room for customers to browse.
Allow for the stall itself, then add working clearance. Vendors need space to open a trailer, access stock from a ute, set up a banner or safely serve customers. Attendees need aisles wide enough for wheelchairs, prams and two-way traffic. A packed floor plan may look profitable on paper, yet a cramped event makes people leave sooner and reduces the chance of discovery.
Use consistent stall IDs from the beginning, such as A01 to A20 for one zone and B01 to B20 for another. A clear ID system helps with bump-in instructions, maps, incident reporting and last-minute swaps.
Match stall placement to vendor requirements
Fairness does not mean every vendor gets the same location. It means you use clear criteria and give each business a space that supports safe, workable trading. Gather the right information in your application form so placement decisions are based on facts, not a last-minute email chain.
At minimum, collect stall dimensions, vehicle dimensions, power load, food or gas requirements, accessibility needs, noise considerations, preferred bump-in time and whether the vendor needs to trade beside a related business. For outdoor events, ask whether they bring their own marquee and whether it has suitable weights for the site conditions.
Then group vendors by operational need. Food and beverage traders often benefit from a dedicated precinct with adequate utilities, seating nearby and enough room for queues. High-noise activities, demonstrations and generators need separation from quiet makers or wellness services. Large vehicles may need perimeter access, while smaller retail stalls can create a walkable marketplace at the centre of the site.
There are also commercial considerations. Place proven crowd-pullers where they encourage people to move through quieter areas, rather than clustering every popular seller at the entrance. Spread similar categories across the site when possible. Three candle businesses side by side can feel like direct competition; separating them gives attendees more reasons to keep exploring.
That said, category clustering can work for food, plants, vintage or collectibles when visitors expect to compare options. The right choice depends on the event. A curated craft market may favour variety in every row, while a car show swap meet may benefit from distinct zones that help buyers find parts quickly.
Design the attendee journey, not just the grid
A strong site plan gives people a natural reason to circulate. Think about what an attendee sees in their first 30 seconds, where they pause, and what draws them beyond the first row of stalls.
Avoid dead ends where possible. If the venue forces one, give it a destination: a popular vendor, live demonstration, seating area or activity. Positioning every appealing stall at the front can make the back half feel empty, even when the event has good attendance.
Keep entrances open and welcoming. The first few metres should not be blocked by queues, tall displays or a vendor trying to reverse into place during opening hours. Use visible wayfinding to identify zones, amenities and exits. If attendees can quickly locate food, toilets and their favourite vendors, they spend less time feeling lost and more time browsing.
For recurring events, rotate some stall locations between editions. Regular stallholders appreciate consistency when their setup depends on a particular power point or vehicle position, but a considered rotation can prevent the same businesses from always receiving the strongest trading spots. Be transparent about which sites are fixed for operational reasons and which are part of a rotation.
Create a placement process vendors can trust
Even a well-designed map can cause friction if vendors do not understand how decisions were made. Set expectations before applications close. Explain your stall sizes, site constraints, priority rules and whether placement requests can be considered but not guaranteed.
A practical assignment process usually follows this order: confirm site constraints, place essential infrastructure, allocate specialist vendors, position larger vehicles and food operators, then fill retail and community stalls around the attendee flow. Save a small number of flexible spaces for late approvals, sponsor obligations or vendors who need to be moved due to weather.
Do not promise exact stall positions too early. A vendor may need to withdraw, a council requirement may change, or rain may make part of an outdoor site unusable. Instead, communicate a release window and send final placement details once the plan is operationally sound.
When you publish assignments, provide more than a stall number. Vendors need their zone, map reference, access gate, bump-in window, vehicle instructions, stall dimensions, utility details and a contact method for event-day issues. Clear information prevents the familiar morning rush of messages asking, “Where do I go?”
Evntle can bring vendor applications, site planning and event-day operations into one workflow, which reduces the risk of version-control problems between a spreadsheet, a PDF map and multiple inboxes. Whatever system you use, maintain one current source of truth that your operations team and vendors can rely on.
Plan for bump-in, weather and changes
Stall allocation only works when vendors can physically reach their allocated space. Map vehicle routes separately from pedestrian routes, assign arrival windows by zone, and avoid sending every vendor to the same gate at once. Food trucks and large trailers generally need earlier access than a table-based stallholder who can carry stock in from a nearby car park.
Build a contingency plan before you need it. Identify which stalls can be moved if wind affects exposed areas, what happens if a vendor does not arrive, and who has authority to approve a swap. Keep vacant sites useful by having a short waitlist or using them for seating, an activation or extra queue space.
On the day, one team member should own the live site plan. They should record changes immediately and share them with the people who need to know, including gate staff, vendor support and emergency contacts. A handwritten alteration that never reaches the rest of the team can create confusion for hours.
Measure what worked after the event
The layout is never finished when gates close. Ask vendors how their location performed, whether bump-in was clear and if they had enough space, power and customer access. Pair that feedback with your own observations: queue build-up, quiet zones, blocked aisles, incidents and attendee dwell time.
Do not treat every sales result as a placement issue. Product fit, weather, pricing and a vendor's own promotion all matter. But patterns across several events can reveal whether a particular row consistently underperforms or whether an entrance creates a traffic pinch point.
The goal is not a perfect static map. It is a repeatable operating method that lets every stallholder arrive prepared, every attendee move comfortably and every event improve with evidence. When your placements work, the site stops feeling like a collection of booths and starts behaving like a marketplace people want to return to.
📖 Related
See the KDS and POS in action — try the live demo or create a free account.