
An artist rider template is a standardised document that captures every technical, hospitality and contractual requirement a performer needs before they hit your stage. In Australia, event organisers who use a structured rider template cut back-and-forth emails, avoid costly last-minute hires and keep artists happy. The best approach is simple: send one clear template, collect everything in one place, and confirm sign-off before bump-in. This guide shows you exactly how to build and use an artist rider template that works for festivals, council events, markets and corporate gigs.
If you manage multiple events, pairing your rider template with a proper [marketplace template library] means you're not reinventing the wheel every season. Let's break down what goes in a rider, why it matters, and how to make it painless.
What Is an Artist Rider Template and Why Do You Need One?
An artist rider template is a pre-built form that captures an artist's technical and hospitality needs. It's the difference between a smooth bump-in and a 4pm panic about a missing DI box.
Most Australian event organisers juggle spreadsheets, email threads and PDFs. That stops working the moment you book more than a handful of acts. A rider template gives you one source of truth. The artist fills it in, your production team reviews it, and everyone signs off before event day.
Technical rider vs hospitality rider
There are two halves to every rider:
- Technical rider — sound, lighting, staging, power, backline, monitor mixes, AV, rigging and any special equipment.
- Hospitality rider — green room requirements, meals, drinks, towels, parking, dressing rooms, security and transport.
Both belong in the same template. Splitting them creates gaps where things get missed.
Use a single artist rider template that covers both technical and hospitality sections. Two separate forms double the admin and almost always lead to something falling through.
Evntle's [Artist Rider Requirements Template] is a ready-made starting point — two sections, five fields, and it plugs straight into your event workflow.
How Do I Create an Artist Rider Template? Step-by-Step
Building a rider template takes about an hour. Getting it wrong costs you days. Follow these steps.
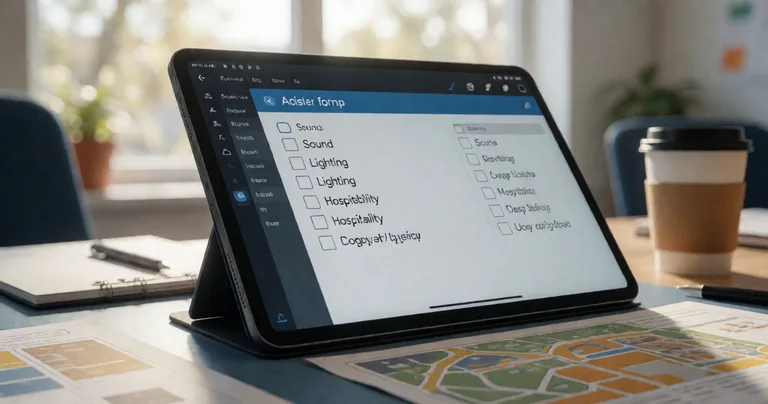
- Start with the essentials. Artist name, contact, event date, set time, stage, and a single point of contact for both sides.
- Add the technical section. Input list, channel count, monitor requirements, backline, power, lighting cues and any special rigging.
- Add the hospitality section. Meals, dietary requirements, drinks, dressing room setup, towels, parking passes and guest list numbers.
- Include sign-off fields. Both the artist and your production manager should sign off digitally with a timestamp.
- Attach a deadline. Set a hard cut-off — usually 14 days before the event — so you have time to hire or adjust.
- Test it once. Send it to a friendly act and see what confuses them. Fix the wording, then lock the template.
Once you've built it, store it in a template library so you can duplicate it for every event. That's where a proper [community template marketplace] saves real time — 92 templates shared by organisers who've already done the hard work.
What to include in the technical section
Be specific. Vague riders create vague responses.
- Number of inputs and channel list
- Monitor mix requirements (how many sends, wedges or IEMs)
- Backline provided vs backline required
- Power requirements (single phase, three phase, amps)
- Lighting cues and any special effects (haze, strobe, follow spot)
- Stage plot upload field
- AV requirements for corporate or hybrid events
What to include in the hospitality section
Hospitality is where goodwill is won or lost. Get it right and the artist tells other acts. Get it wrong and you'll hear about it on social media.
- Meal times and dietary requirements (allergies included)
- Drinks — water, tea, coffee, specific requests
- Dressing room setup and privacy needs
- Towels, mirrors, power points, wifi
- Parking and load-in access
- Guest list allocation
- Security or escort requirements
"The industry standard is a 14-day rider cut-off. Anything later and you're hiring gear at short notice or telling an artist no. Both cost money and relationships."
— Evntle event operations team
Why Australian Event Organisers Get Riders Wrong
Three problems show up again and again.
1. Riders live in email threads
An artist sends a PDF. Your production manager replies with edits. The artist sends a revised version. Now you have three files and no idea which one is current. That's how a missing subwoofer becomes a show-stopper.
2. No sign-off
Without a timestamped sign-off, you can't prove what was agreed. When a dispute arises — and it does — a signed rider is your protection. The same principle applies to stallholder agreements and incident logs.
3. Hospitality gets treated as an afterthought
Hospitality is not optional. Artists talk. A well-run green room builds your reputation for next season.
Never accept a rider that arrives less than 7 days before the event. You can't hire, you can't budget, and you can't plan. Hold the line on your cut-off.
Rider Data: What Actually Goes Wrong (and What It Costs)
Numbers tell the story. Here's what we see across Australian events.
| Rider Issue | % of Events Affected | Average Cost to Fix |
|---|---|---|
| Missing backline or DI boxes | 38% | $420 |
| Hospitality shortfall (meals, drinks) | 52% | $180 |
| Late rider submission (under 7 days) | 29% | $650 |
| Power or rigging mismatch | 17% | $1,200 |
| No sign-off on file | 44% | Dispute risk |
These aren't hypotheticals. They're the patterns that show up when organisers don't use a structured template.
What a good template saves you
| Metric | Without Template | With Template |
|---|---|---|
| Time to collect rider info | 6–10 days | 1–2 days |
| Emails per artist | 8–12 | 2–3 |
| Last-minute hires | Common | Rare |
| Sign-off documented | 56% of cases | 100% |
The difference is not the template itself. It's the process it forces: one form, one deadline, one sign-off.
How to Run Rider Workflows at Scale
If you're running one event a year, a PDF template is fine. If you're running a market calendar, a festival series or a council events program, you need more.
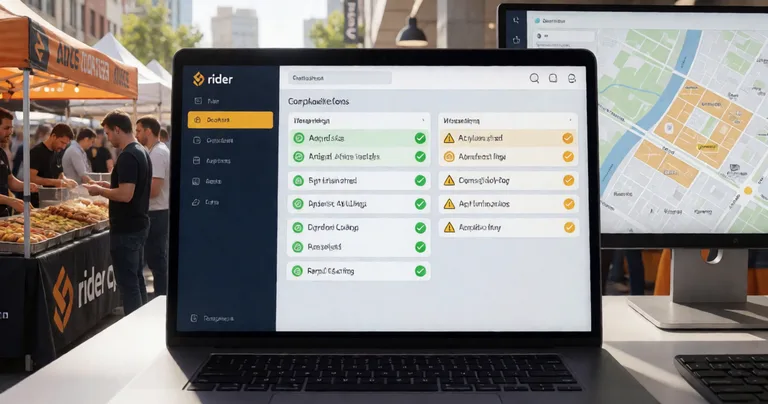
Evntle's platform lets you build rider templates once and reuse them across every event. Artists get a portal link, fill in the form, upload stage plots and sign off digitally. Your production team sees live status — who's submitted, who hasn't, what's outstanding.
That same approach works across the rest of your event operations:
- Vendor applications — collect, review and approve stallholders in the same system.
- Site planning — map artist zones, stalls and bump-in areas on one plan.
- Incident management — log issues with timestamps, owners and severity.
- Bump-in and bump-out — track arrivals, equipment and pack-down in real time.
If you're planning a multi-day event, our [gaming convention vendor software guide] shows how the same workflow scales across hundreds of vendors and artists.
Evntle works offline for critical functions like bump-in tracking and incident reporting. Data syncs automatically when you reconnect — handy for regional and outdoor sites with patchy coverage.
Common Mistakes to Avoid
Even with a template, these trip people up.
- Letting the artist redline the whole thing. Negotiate, then lock the final version.
- Forgetting dietary and allergy details. Use a structured allergen field, not free text.
- Not sharing the rider with your crew. Sound, lighting and hospitality leads all need access.
- Storing riders in personal inboxes. If your production manager leaves, the knowledge leaves with them.
- Skipping the post-event review. What went wrong this time is your template improvement for next time.
The industry standard is to review every rider within 48 hours of submission and confirm sign-off in writing. Anything slower and you're inviting last-minute changes.
Frequently Asked Questions
Q: How do I create an artist rider template?
A: Start with a single form that covers both technical and hospitality requirements. Include artist details, input lists, monitor needs, backline, power, meals, dietary requirements, dressing room setup and sign-off fields. Set a 14-day submission deadline and store the template in a shared library so you can reuse it for every event.
Q: What's the difference between a technical rider and a hospitality rider?
A: A technical rider covers sound, lighting, staging, power, backline and AV. A hospitality rider covers meals, drinks, dressing rooms, towels, parking and guest list. Both belong in the same artist rider template — splitting them creates gaps.
Q: When should I send the rider template to an artist?
A: Send it as soon as the booking is confirmed. Set a hard cut-off 14 days before the event. That gives you time to hire equipment, adjust the site plan and confirm hospitality without paying rush fees.
Q: Can I use the same template for markets and festivals?
A: Yes. The core fields — contact details, technical needs, hospitality and sign-off — work for any live event. Adjust the technical section for scale. A market busker needs less than a festival headline act, but the workflow is the same.
Q: How do I handle dietary requirements and allergies on a rider?
A: Use a structured field with checkboxes for the 14 common allergens plus a free-text note. Don't rely on email. If you're also managing food vendors, pair it with proper allergen tracking so nothing slips through.
Q: What's the best way to store signed riders?
A: Keep them in a central system with timestamps and version history. If a dispute arises six months later, you need to retrieve the exact signed version in seconds. Personal inboxes and shared drives don't cut it.
An artist rider template is not paperwork for its own sake. It's the difference between a calm event day and a fire drill. Build one template, set one deadline, collect one sign-off, and store it where your whole team can see it. Do that, and you'll spend less time chasing emails and more time running a show that artists want to come back to.
Ready to stop chasing riders by email? [Start free with Evntle] and set up your first template in minutes.